From a toolpath on screen to a test print
Our October Slicer work brought physical test samples and a prototype for collecting print feedback closer to the software preparation process.
What a printed part adds to the discussion
A toolpath on screen shows what the software has planned, while a printed part gives us another kind of information. During October, our Slicer work included physical test samples alongside the work on software. Photographs of those samples gave the team something concrete to examine in its discussions. They also made the question of how to record a print result more immediate.
A surface in a photograph can show an area that deserves a closer look. The photograph alone does not explain which program, material or setup produced it. Without that context, the next discussion can easily begin with guesses about what changed. We want a test result to be connected with enough preparation information to make the observation useful.
Putting the result beside its preparation
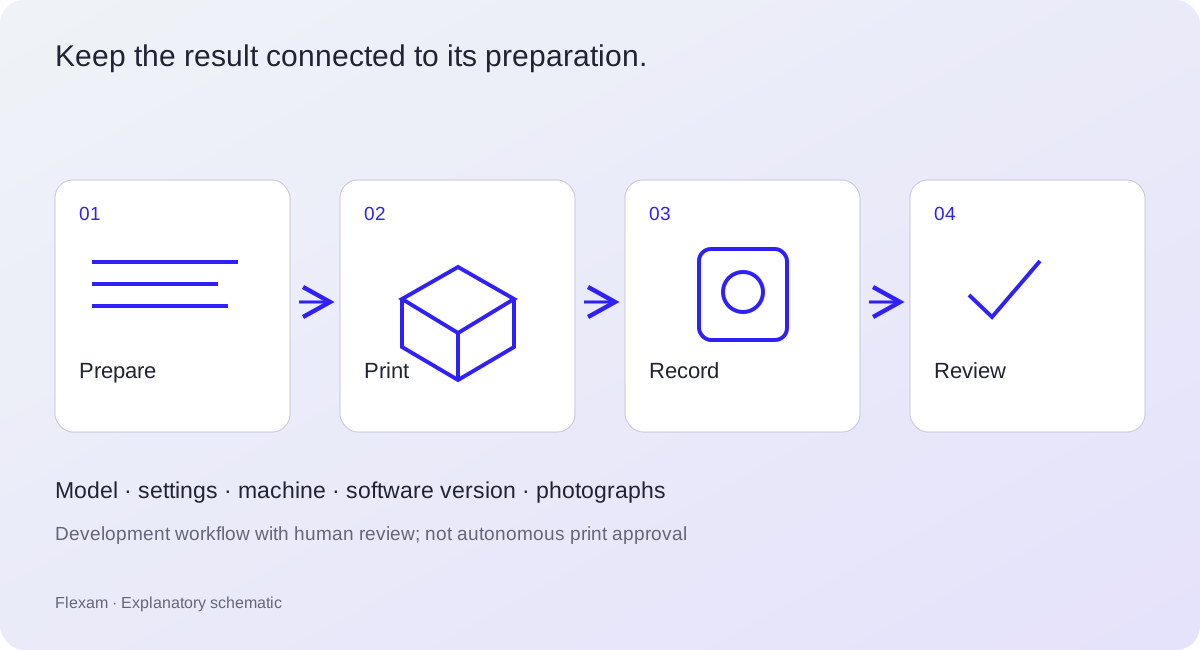
Our October development work also included a prototype mobile flow for photographing print feedback. This gives us a way to explore collecting a result near the point where it is observed. The intention is to reduce the distance between a physical sample and the software work behind it. A feedback image becomes more valuable when the team can relate it to the corresponding model and settings.
The version of the software matters in that record as well. A result is easier to discuss when we know which preparation produced it and what differed from an earlier attempt. That helps separate a question about geometry or path generation from a change in the print setup. It also gives the next test a more specific starting point than simply asking for another photograph.
A clearer loop for the next test
This is why we treat recording the result as part of the testing work rather than an extra reporting task. The useful record begins with a particular model, a set of settings and a software version. It then connects those details with an observation from the physical print. Keeping that relationship clear helps the people doing the work decide which question to investigate next.
The October samples and feedback screen are steps in developing that loop, not a claim that the whole process is automated. Photographs still need interpretation, and the machine and material remain part of that interpretation. For us, the practical gain is a better conversation between the path on screen and the part in front of us. We can then use the next print to examine a defined adjustment instead of losing the context of the previous one.